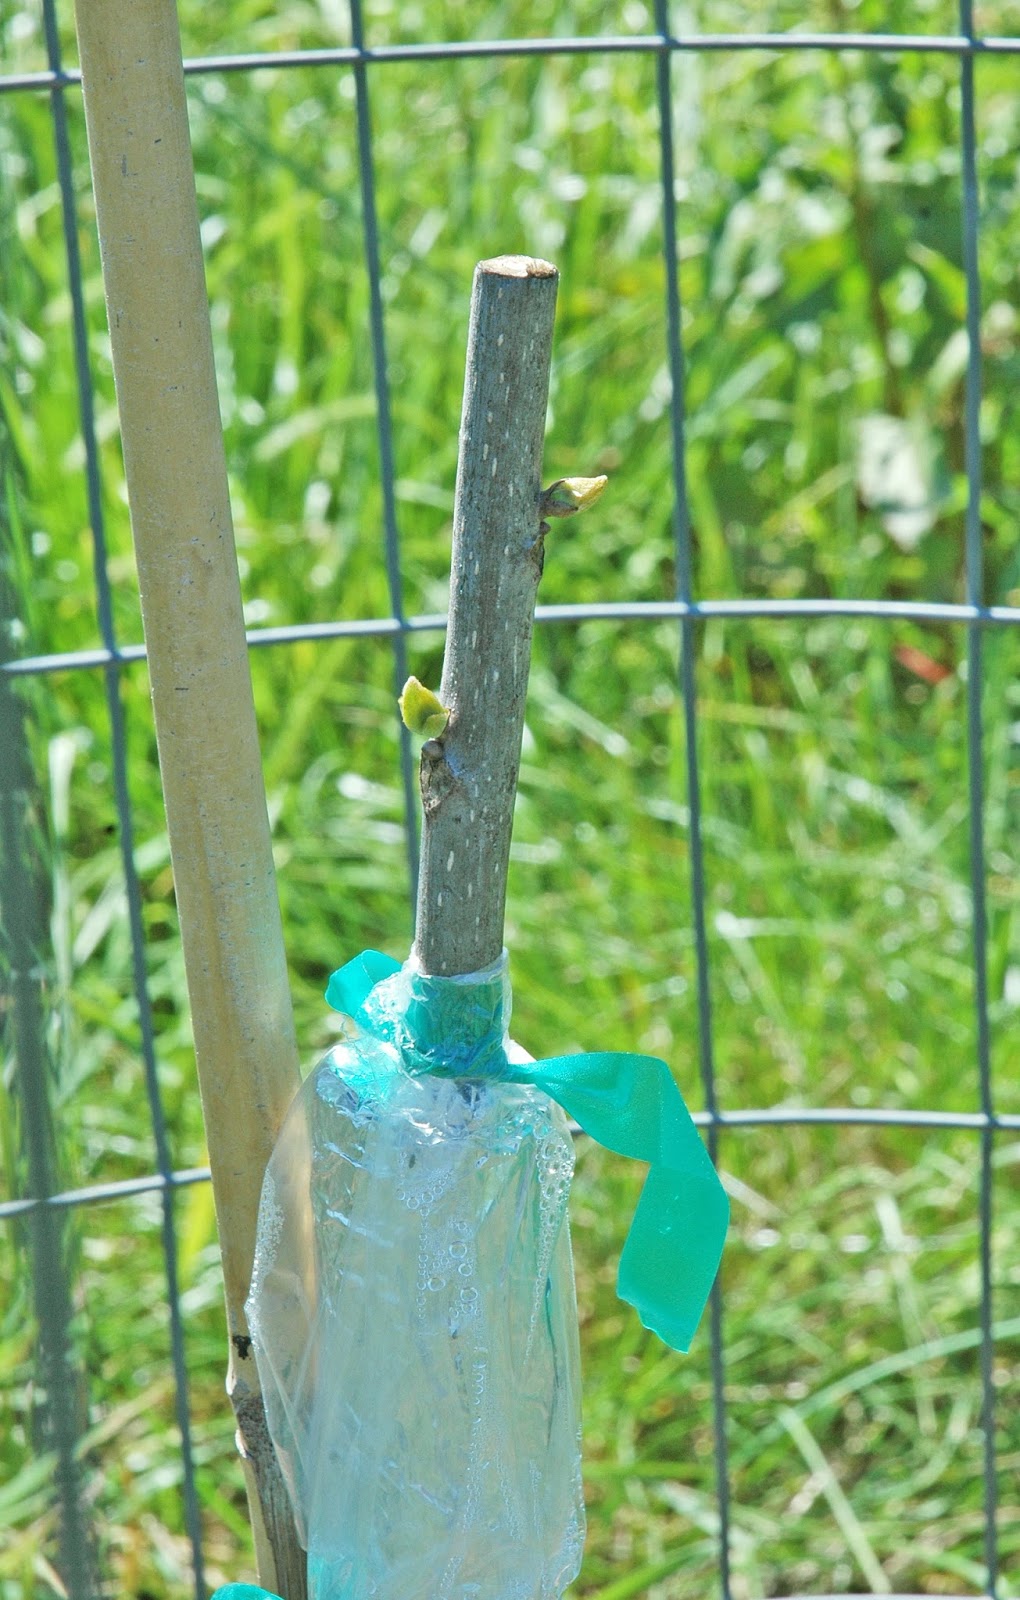
Last weekend, I finally finished grafting pecan trees in my orchard. After the flood receded, it seemed like I spent a week in rubber boots wading in the mud to finish up making bark, arrowhead, and 3-flap grafts. I've been grafting pecan tree since late April this year and those first grafts I made are starting to break bud (photo at right). Now it was time to finish up.
Not every tree is cooperative with the grafting process and the last tree that I needed to graft this year turned out to be a graft failure from 2016 (photo at left). Its a good thing that I had strong trunk sprouts grow up last summer to provide a perfect spot for grafting this Spring. My first step was to remove the failed graft and trim the tree down to a single trunk.
I choose to keep the larger of the two sprouts for my new central leader. I trimmed off the old failed graft and the smaller trunk sprout with one cut using a chainsaw. I made the cut at about a 45 degree angle to aid in rapid wound healing.
I cut the remaining portion of the tree at about 2 feet above ground level. At this point, the tree was about one inch in diameter--somewhat small for a bark graft. I selected a small diameter scion from my cooler and held it up to the stock. This is how I search for a flat spot on the stock wide enough to suit my scion (photo above right).
In choosing a flat spot to insert the scion, I also took into account the locations of buds on the stock. Each bud has a
bud trace or small branch of wood that grows up into the bud. If you try to insert a scion right under a bud on the stock, the scion might get hung up on the bud trace. I found two buds on the stock tree that I needed to avoid. In the photo above, the red arrow points to a bud at the very top of the stock. This location looks like a nice flat spot, but the bud trace could create a problem for inserting the scion. I found a second bud in the grafting zone (yellow arrow) and I chose to avoid this bud also. Ultimately, I decided to place the graft in location of clear bark that seemed just wide enough for the scion (the scion in the photo hovers above that location).
The way I carve my scion for a
bark graft means that I always place the scion on the left side of the split in the stock's bark. Keeping that in mind, I made the downward slice in the stock's bark on the very right side of the area I had identified for scion placement. I proceeded to carve the scion and staple it in place (photo at left).
This year's grafting season for me ended up the same way as always--covering a graft with aluminum foil and plastic bag, then attaching a bird perch. For me the end of the grafting season means the beginning of the directive pruning season, especially on trees grafted in 2016.