Friday, May 29, 2015

Pecans set on native pecans

    Yesterday, I drove through flood waters to get down to our pecan grove. At that time, not all our orchards were under water and I was able to get up in our hydraulic lift to check on pecan nut set (photo at right).  Because of the flooding, I was only able to check about a dozen trees but what I saw looked promising.  On many trees, every terminal bore a cluster of 5 to 6 nuts.
    When newly set nuts are so small, it is hard to look up at a pecan tree and get a good feel for the size of the nut crop. The photo at left is my attempt to show you how prolific our native trees are this year.  From terminal buds on last year's growth, two shoots grew and both produced a cluster of pistillate flowers. Currently, five pollinated nuts have set on each of these terminals (photo at left).
    Not pictured in the photo is a shoot that developed from a bud eight inches behind the two shoots in the photo. Sprouting from one-year-old wood and back inside the tree's canopy, this new shoot also produced a cluster of five nuts.
    With the heavy nut set I'm seeing on our trees, I plan to skip making an insecticide treatment to control pecan nut casebearer in early June. This doesn't mean I don't plan to spray our trees during the coming month. The super wet conditions we've experienced over the past couple of weeks has been ideal for the spread of pecan scab and a myriad of foliage diseases. Once we can get over the field with our spray rig, we'll be applying a fungicide to our trees.

Wednesday, May 27, 2015

Recharging the water supply

 
     Over the last few weeks, we have received an abundant amount of rainfall. So much rain fell over southeastern Kansas last weekend that the Neosho River spilled out of its banks and flooded our pecan grove (photo above).
   There are positive and negatives when it comes to flooding. On the plus side, a low level flood, like the one we are experiencing now, is serving to recharge the subsoil water supply. Every since the extreme droughts of 2011 and 2012, we have never received the surplus rains needed to completely recharge the system. This flood should get us back to full water supply.
    The downside of flooding is a loss of soil nitrogen due to the actions of denitrifying bacterial that flourish in flooded soils.  Based on predictions from the National Weather Service, this flood should last about five days. That's long enough to recharge the soil moisture supply but not long enough to throw our trees into nitrogen deficiency.


  Update Friday May 29th: The National Weather Service  operates River Forecast Centers all across the country. If your pecan grove is in a flood plain you should go to the NWS website and find the closest reporting site on your river.  We use the data recorded just south of us on the Neosho River to predict how flooding will impact the Pecan Experiment Field. The data above is a screen shot from Friday, May 29th.  Water covers the road to the Pecan Field when the river hits 18 feet. At 24 feet, we will have water in our buildings. The biggest flood I've lived through and the second highest in recorded history occurred in early July of 2007. On July 5th, the river crested at 29.25 feet and we had 5 feet of water in our workshop.
   The rain received today will extend local flooding conditions (see chart above) and will cause some of our trees to be under water for more that a week's time. This will cause low nitrogen problems for trees in lowest lying areas. With a big crop set on the trees, I'll be adding more N fertilizer to several tree blocks once the flood recedes.  


Friday, May 22, 2015

Pruning off sprouts under new grafts

   Between all the rain showers we've been having this week, I've had some time to inspect the grafts I made late last month. All of my scions have sprouted and I'm hoping for a 99.9% grafting success rate (100% would be bragging!). Below the graft unions, I'm also seeing a profusion of rapidly growing sprouts that threaten to out-compete the scion for sunlight (photo at right). These stock sprouts have a reddish coloration, a characteristic of  juvenile pecan seedlings. The sprouts growing from the scion are fully green, the color of sexually mature pecan tissue.
   To make sure all the tree's root energy is focused on growing the scion, I use my pocket knife to cut off all the sprouts below the graft union. The photo at left shows a 3-flap graft before and after all stock sprouts were removed. The photo below shows a bark graft that was pruned to promote scion growth.
   The faster you get out in the field to prune off  competing stock sprouts, the more growth you'll push to your scion. Left unpruned, stock sprouts can over-grow a scion, shade out emerging buds, and eventually kill the graft.
    This week was been so wet its been hard to get anything done out on the farm. However, between rain storms, I'll pull on my rubber boots, hop in my 4WD utility vehicle, and head to the field to trim up some grafts.


Wednesday, May 20, 2015

Our pecan seeds are up!

   Last fall we acquired an old Truax tree seed planter in need of repair and re-engineering. This simple machine reminds me of a larger version of a single row corn planter but capable of handling much larger seeds such pecan. We worked on a redesign of the nut metering system and gave the planter a test run last fall (photo at right).
   The planter works best in a well prepared seed bed as shown at right. To make sure we planted the nuts in a strait row, we stretched a string across the field and planted following the string with the front right tractor tire.
   To establish this planting, we harvested early-ripening Peruque nuts, cleaned the seeds, then planted in late October. After planting the pecan seed, we planted a cover crop of winter wheat between the tree rows to hold the soil during the winter and following spring.

    This week, a well defined row of pecan seedlings have popped out of the ground (photo at left). Prior to pecan seedling emergence and before the wheat started to joint, we marked the tree row with a string and sprayed a mixture of roundup and pendimethalin (pre-emergence herbicide) over the top to suppress weeds.
    We plan on leaving the wheat in place throughout the spring flooding season to hold the soil.  Over the summer, we'll spot treat weeds in the tree row with herbicides and clean till the area between rows.
    In using the tree seed planter last fall, we discovered that the furrow closing system currently on the machine does not work in our heavy textured soils. Soil becomes compacted around the shoe of the planter and seeds back up in the drop tube. To plant last year, we removed this ineffective furrow closing system and planted the seed without it. Look at the photo at the top of this post and note that the planter left a V-shaped trench in the soil. This summer we'll be installing two discs on the machine to close this furrow.
    Once we get all the bugs worked out on the planter, we will be leasing the planter to area growers interested in direct seedling new pecan orchards.

Friday, May 15, 2015

June beetles cut off new growth

   Last week, we experienced several days when early evening hour temperatures remained in the low 70's. That's when I heard the familiar sound of large "June" beetles crashing into the windows of my house starting shortly after sunset.  I looked through the window glass and spotted a European chafer crawling on the sill. After spotting this insect, I knew that I could go outside the next morning and find new leaves and shoots chewed off young pecan trees (photo at right). I've written about this pest in an earlier post, but this week I wanted to talk further about the adult beetle behavior and why they only damage young pecan trees.

    The European chafer produces one generation per year. Female beetles lay their eggs in the turf  and C-shaped grubs that hatch from these eggs spend all year feeding on the roots of grasses. Each spring larvae pupate and become adult beetles. These beetles emerge from the turf during early evening hours and swarm to low lying tree branches or shrubs. By cutting off tender leaves and shoots, the European chafer creates an ideal place for additional beetles to land facilitating the search for a suitable mate.
   European chafers are ground dwelling insects so when then fly onto young pecan trees they generally migrate to lower limbs. In the photo at left, you can see that the lowest two limbs of this tree have been attacked by beetles while the upper portion of the tree is untouched. As pecan trees grow larger and lower limbs are pruned off, European chafers will no longer present a problem because these insect can't stand heights.  
    Spring emergence of adult beetles lasts about 2 weeks. At my location, emergence is trailing off and will be over soon. 

Thursday, May 14, 2015

Directive pruning young pecan trees

   Last week, I finished my grafting for the season. This week, I turned my attention to pruning last year's grafts. Many of the bark grafts I made last year grew 4 to 5 feet in height during their first summer, and by the time I got back to these trees this spring, they had put on another 12 to 18 inches of new growth (photo at right). However, grafted pecan trees never seem to grow the way we want them to grow. It was time to practice some directive pruning.

 
     When I approach a young tree I always start by looking at the top of the tree (photo at right). When a pecan tree breaks bud in the spring, numerous buds at the tree's apex grow all at one time. This creates a very bushy top with no single, strong central leader.

   After inspecting the tree, I choose one shoot to become the new central leader. In the photo at right, note that at the top of last year's growth, both primary and secondary bud broke and developed into new shoots. To prune the leader down to one shoot, I made two cuts (red lines in photo). I also removed several shoots below the leader following the "2 foot rule" for defining a new central leader.

     Next I turned my attention to the central portion of the young tree's canopy. On this tree, I found several new lateral shoots growing very vigorously (photo at left). I definitely want to keep all these laterals on the tree to provide greater leaf area for the tree and help stimulate trunk diameter growth. However, I don't want the laterals to grow so long and leggy that they droop towards the ground or grow upright to complete with the leader.
    To control lateral branch growth I simply pinch out the terminal growing point of each branch. Pinching will cause a pause in extension growth (growing longer) and stimulate radial growth (growing thicker). Eventually buds on lateral branches will break and the middle portion of the tree's canopy will fill out with additional branches and leaves.
    Pinching out the tips of lateral branches is a simple process that you can perform with your fingers. When I pinch out the terminal of a lateral branch I always make sure to pinch just above an outward pointing bud (photo at left).

     The photo above shows my young tree before and after directive pruning. The brushy top of the tree has been thinned down to a single central leader and I've kept all the new lateral branches in the tree's mid-section. What is hard to see in the photo is the fact that I pinched the terminal out of all laterals

   The photo at right is another example of a tree I grafted last year that needed some pruning this spring. Two problems needed immediate attention. The strong lateral branch that originated from a bud on the scion must be removed so it won't compete with the central leader. And, I need to define a new central leader out of the profusion of branches growing at the top of the tree.
     A close look at the top of the tree revealed at least 7 shoots trying to grow upwards (photo at left). I  pruned this down to one shoot selecting a strong shoot that was growing parallel to my training stick.

     After pruning to get a new central leader, I was left with a sharp dog leg on the main stem and a new shoot that was weakly attached to the tree (due to all the pruning cuts). To ensure I don't loose my new central leader in a wind storm, I tied the shoot to my training stick using flagging tape (photo at right).

    The before and after photos of this second tree are a little more dramatic (photo above). You immediately notice that the lateral branch that grew from the original scion stick has been removed. Next you can see that the tree now has a single central leader at the top of the tree. And like the first tree I pruned, I left all the lateral branches arising form the central trunk but pinched out their terminals to slow extension growth.

Tuesday, May 12, 2015

Pecan pollination season well underway

    Early this morning, I walked out to a couple of pecan trees to check on the progress of this year's pollination season. I stopped first at a Lakota tree (photo at right). Lakota has the protogynous flowering habit meaning that pistillate flowers become receptive to pollen early in the pollination season. Stigmas of Lakota flowers are green when receptive but turn brown once pollinated. In the photo above, note how the tips of these Lakota look dried up and have started turning brown. It seems that pollen has already landed and germinated on these flowers.

     In contrast, the pistillate flowers of a Gardner tree appeared fully receptive to pollen today (photo at left).  Gardner has the protandrous flowering habit meaning that the tree sheds its pollen before pistillate flowers become receptive. The stigmas of Gardner pistillate flowers are wine red in color but notice how they glisten in the sunlight. A pistillate flower secretes a sticky fluid that serves to help capture pollen grains from the air and subsequently promote their germination. Today's warm sunshine provided Gardner flowers great conditions for getting pollinated.

    In looking over your trees, remember that the color of the stigma does not indicate receptivity for pollination. Pecan stigmas can vary in color from green to yellow to orange to deep red. Look for the presence of stigmatal fluid on the flower. A sticky stigmatal surface means the flower is fully ready for pollination. Once the flower is pollinated the stigmatal fluid will disappear and the tips of the stigma will begin to brown.
     I


Friday, May 8, 2015

Pecan pollination season has started

    The more I look at the terminals of our pecan trees the more pistillate flowers I see. The 2015 crop is promising to be a big one.
     During this early phase of the pollination season, pecan cultivars with the protogynous flowering habit have pistillate flowers that are fully formed and ready to accept pollen (Lakota pistillate flowers pictured at right).

     In contrast, pistillate flowers of protandrous cultivars are just now starting to form at the tips of new shoots (Gardner pistillate flower cluster pictured at left). It will take about two more weeks before these pistillate flowers will be ready to accept pollen.

    Pistillate flowers are only one half of the pollination equation. This year, our trees seemed to be covered with catkins, the tree's male flowers. Within every primary bud on a pecan stem you will find a central vegetative bud flanked by two ancillary buds that produce catkins. Three catkins are produced from each ancillary bud (photo at right). A catkin is actually a long spike of numerous male flowers. As catkins mature, the leafy bract of each flower opens up to reveal 3 pollen capsules. These pollen capsules turn from green to yellow just before they pop open to release millions of pollen grains into the air. The photo below shows catkins that have already shed some of pollen this spring (catkins from the protandrous Faith cultivar). Note that once pollen is release the pollen capsule turns dark brown in color.


Wednesday, May 6, 2015

Top-working a large pecan tree

    Today, I decided to attack a seedling pecan tree we have growing amongst a block of grafted trees (photo at right). Several years ago, this tree suffered severe limb and trunk breakage in an ice storm and the tree responded by growing a new shoot from below the original graft union. Since the tree had large and well established root system, the new top has grown like mad and is now too big for a single bark graft.
   Armed with a bag of scions, I drove our hydraulic lift out to the tree and prepared myself for top-working the entire tree.
     My first step was to cut every major limb in the tree from top to bottom using a chainsaw and hydraulic lift (photo at right). Each limb was cut so I would have a 1.5 to 2.5 inch diameter stump in which to place a bark graft. I left several small branches on the tree to provide some leaf area to help feed the root system.

    Standing in the lift, I ended up placing nine bark grafts on this tree (photo at right). In the past, I've grafted trees from the top step of a ladder but then I  always seem to drop a tool or roll of tape just when I needed it. Working from the hydraulic lift made this job a lot easier. However, it still took me an hour to graft this one tree.
    Placing 9 grafts on a tree is actually the simple part of top-working (photo at left). I'll have to watch each graft carefully to make sure they take and protect growing grafts from wind damage. I'll also need to prune off all the sprouts that will develop below the grafts to ensure that I don't end up with a tree canopy that produces both improved and seedling pecans.
    This summer, I plan on visiting this tree every three weeks and I'll keep you posted on my progress.

Tuesday, May 5, 2015

Making an arrowhead bark graft

   During last week's grafting schools, I received a lot of questions about the arrowhead grafting technique. The arrowhead is my "go to" method for inserting a small diameter scion (3/8 inch)  into the stock tree that is roughly 0.75 to 1.25 inches in diameter.  The photo at right compares the size of my scionwood to a small stock tree that needs grafting.

    I cut off the stock tree at a point just below a bud. This will give me a nice, long area of clear stem in which to insert the scion.  The photo at right gives a clear comparison of the diameters of scion and stock.

    To prepare the stock, I make an incision through the bark, straight down the stem about 3 inches long (photo at right). It is always best to make this cut longer than you need so you won't tear the bark when inserting the scion. 

  Now it is time to carve the scion. Start by making a sloping cut about 2.5 inches long at the base of the scion. Thin down the wood until you get a long tongue shape while carving a shoulder at the top of the cut (photo at left).

   Now, we get to the reason this method is called the arrowhead graft. Turn the scion so you can see the edge of the tongue. Using your knife, peel off the bark all along the edge of the scion from the base of the shoulder to the bottom of the scion stick. When I make this cut, its like I'm trying to sharpen an arrowhead.

    In shaving off the bark, make sure you cut deep enough to expose white wood all along the edge of the scion (photo at left). Only by seeing wood exposed will you be certain you have exposed cambium down the entire edge of the scion. 

    Next, turn the scion over and sharpen the other edge of the arrowhead. When you are done carving, you should see a long V shaped strip of bark down middle of the scion (photo at right).

    To make it easier to insert the scion under the bark of the stock, I cut a small chisel point at the tip of the arrowhead (photo at right).

    After creating my arrowhead scion, I lift the bark on the stock and slide the scion right down the center of the bark incision (photo at left). As I push the scion downwards, I wiggle the stick side-to-side to make sure the bark is lifted away on each side of the incision. 

     I push the scion down to the point where the shoulder of scion contacts the top of the stock. If the scion is positioned correctly, all you should see is the V shaped bark strip on the scion peeking out from the slit in the stock's bark (photo at right). 

     From the side, it looks like I have a nice tight fit between scion and stock (above), but look from above the graft and you'll see gaping holes between bark and scion (photo at left).
    To form the bark up tight around the scion, I use a light duty staple gun with 5/16 inch staples. The staples are inserted vertically right along each edge of the scion (photo at right). These staples force the bark to bend inward ensuring the the bark of the stock is contacting the cambium exposed on the edge of the arrowhead.

   Now let's check from above. Once the staples are inserted the bark is nice a tight and all the air gaps have been eliminated (photo at left).

   I use staples to force the stock's bark to conform to the scion. However, these staples to not hold the scion in place. Touch the scion the wrong way and the stick will pop out away from the stock. To secure the scion in place, I use grafting tape to wrap the entire graft union (photo above right).

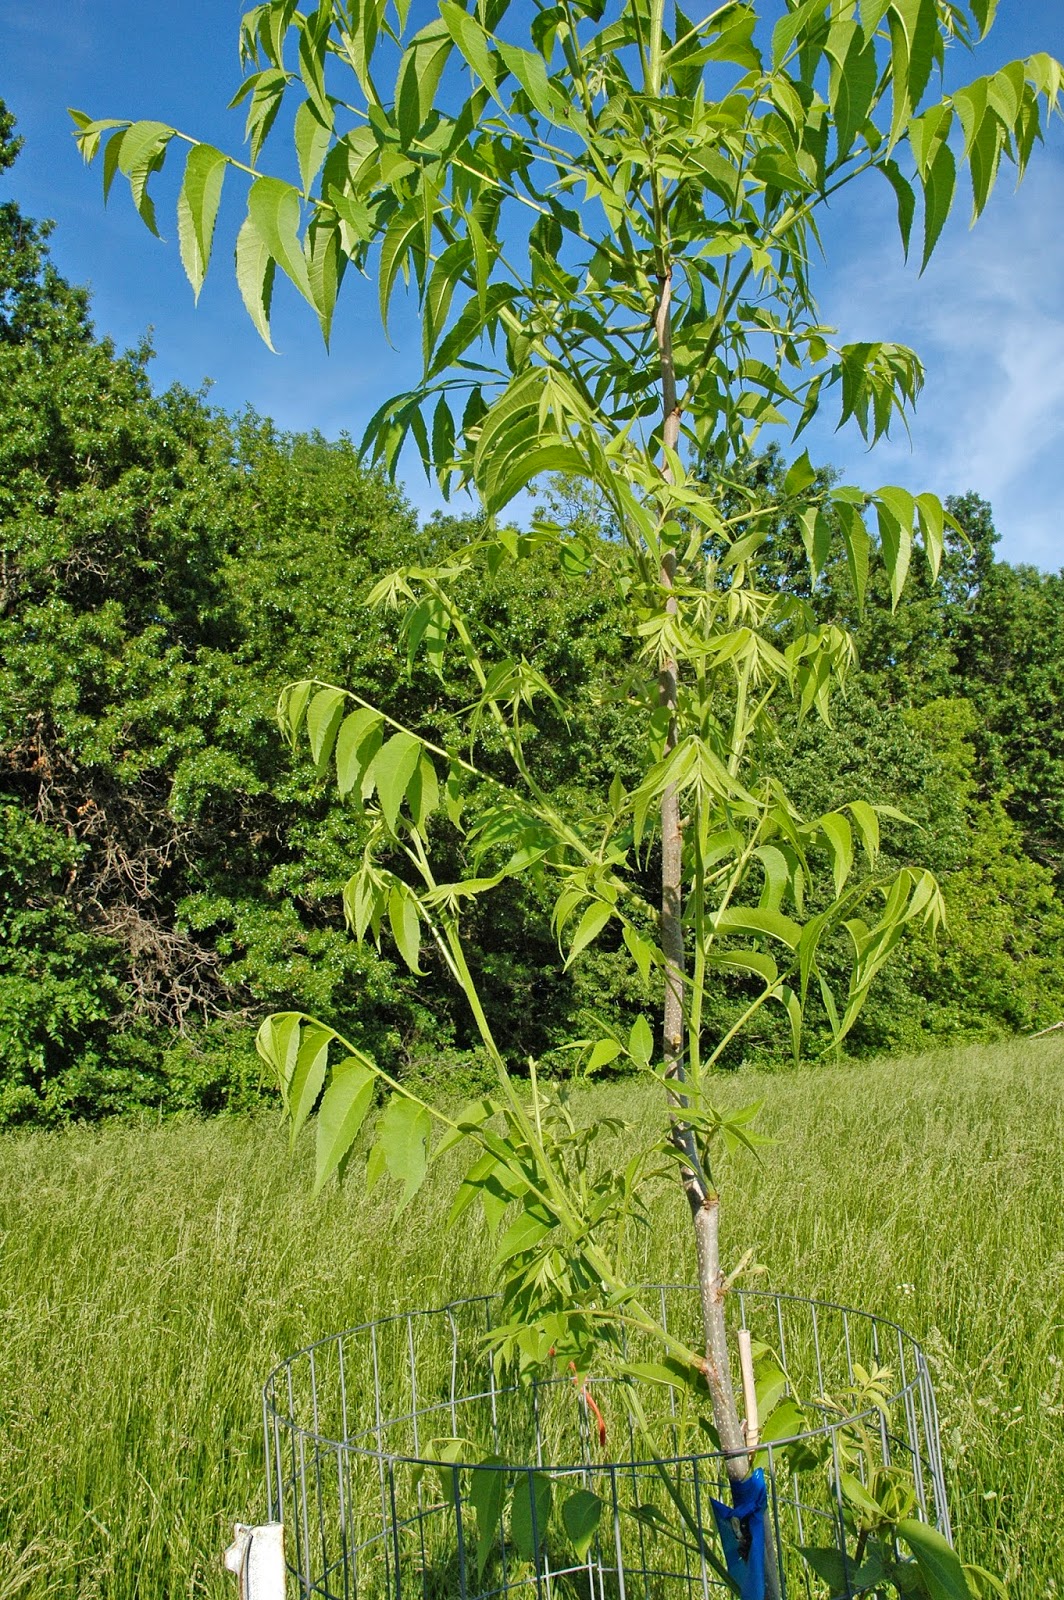
    I finish up the arrowhead graft just like all the other grafting methods I use for pecans (photo at right). I cover the graft union in aluminum foil to block out the sun. I then cover the graft with a plastic bag and add a spot of school glue to the top of the scion to preserve moisture. And finally, I never forget to tape on a bird perch to prevent bird damage. 


Friday, May 1, 2015

Nature's grafting technique

    It has been a great week for grafting pecan trees. I've be grafting at the Pecan Experiment Field, grafting trees on my home farm, or showing folks how to graft during grafting schools. The other day I was grafting at my farm when I stopped for a minute to watch all the cars and trucks wiz by on US Hwy 166. Just think, all those people rushing back and forth--not one of them having the time or inclination to carefully carve out a scion and attach it to a sapling pecan tree. To me, grafting offers me the chance to slow down, enjoy the outdoors, and create a tree that will bear nuts every year for the next century (photo at right). I can't think of a better endeavor.
    During this week's grafting schools I visited several pecan farms. During one farm tour, I spotted a natural graft union that formed in a tree that had lost much of its canopy several years ago in an ice storm (photo at left). Once limbs were broken off by ice, the tree sprouted new shoots from remaining live branches with all new shoots growing straight up towards sunlight. As a result of this rapid regrowth, one limb crossed over another. At first, these two limbs just rubbed together in the wind, wearing a bare spot where the limbs touched. As the limbs grew in diameter the pressure against each other increased and the two limbs eventually formed a natural graft union.
   These kinds of natural graft unions are not that common in mature pecan tree canopies. But under the ground, the roots of adjacent trees frequently overlap each other and form natural graft unions. Root grafts are the main reason we do not recommend using tree killing herbicides to treat the stumps of pecan tree removed during a tree thinning operation. The herbicide might control the formation of stump sprouts from the removed tree but the herbicide might be transferred to an adjacent tree via a root graft causing unwanted tree injury.