Monday, May 25, 2020

Directive pruning young pecan trees

    In between rain showers, I have been trying to work on pruning all my young pecan trees. Right now, when I look out in the orchard, I see far too many trees that look like lolly-pops; Trees with a long strait stems topped by a profusion of leaves and branches (photo at right). Left to grow unchecked, this tree would develop a terrible crow's foot and no strong central leader. To avoid future problems with tree form, I like to practice what I've termed "Directive Pruning". By selectively pruning at this time of year, I direct the tree's energy into growing a single central leader and strong lateral branches.

     This year, the mass of branches and foliage on top of my young trees seems even denser than in previous years. Just look at the top of my tree (photo at left), there are multiple shoots growing from each node. Out of this mass of foliage I'll need to select a single shoot to become my new central leader.

    The frost injury we sustained back in April is the cause for the massive profusion of shoots near the top of the tree. In the photo at right, note that there are four shoots growing from a single node. The upper bud or primary bud was killed by the frost. This prompted the secondary and tertiary buds to break and to form shoots. Even the quaternary bud has just started to develop into a shoot. By pruning at this time of year, I can direct all the tree's energy into a single shoot to become a dominant central leader. 
   
    The photo at left shows the top of the tree after I have pruned it. I kept one vigorous shoot to become the central leader. Now that all the competition has been removed around this shoot, the new growth will straighten out in just a few weeks time. I also remove all lateral branches within two feet of the tip of the central leader. This will promote the dominance of the new leader. Below that point I allow the laterals to form but remove any branches that appear to be forming a narrow crotch angle.
     With just a few snips of my pruners, I've eliminated that lolly-pop tree and created a tree with a central leader (photo at right). 


     The photo above is another example of the practice of Directive Pruning. When pruning the tree, I start at the top and select a shoot to become the central leader. Next, I remove all lateral branches within 2 feet of the apex of the central leader. Moving down the tree, I prune off any new shoots that are growing straight upwards from a lateral branch.  At this point in the tree's life, I like to keep all well-formed lateral branches in place as long as they don't interfere with basic orchard maintenance. The additional leaf area provided by low limbs promotes both new shoot and trunk diameter growth. I will remove lower limbs in time, but this tree is about 2 years away from that job.

Wednesday, May 20, 2020

Pecan pollination season


Gardner pistillate flowers
    The weather in SE Kansas this spring has been cool, cloudy, and wet with only a few days of sunshine and warm temperatures. As a result, pecan bud break and flowering has been very uneven. This year my pecan trees responded to the brief periods of warm temperatures (especially warm over-night temps) with spurts of rapid grow. However, when the cool, wet weather returned, spring growth slowed to a crawl. The results has been an extended pollination season characterized by uneven pollen release and widely variable pistillate flower development.

    It looks like we are about half way through the pollination season. The pistillate flowers of protogynous cultivars, like Kanza, appear to be pollinated (photo at left).  The tips of the female's stigmas turn black in color after they have received pollen. 
     Protandrous cultivars have either shed all their pollen and dropped their catkins or are releasing pollen grains now. The photo at right shows the catkins of Yates 68. The center cluster of catkins has released its pollen and is starting to turn brown. The catkin clusters to the right and left are yellow in color indicating that the pollen sacs are fully mature and ready to burst open.

     In the past, I've noted that pecan flowering type can be determined by the  size and shape of the catkins. But in addition, protandrous and protogynous cultivars differ in the appearance of their pistillate flowers.  The pistillate flowers of protogynous cultivars appear early and are often small in size. In contrast, the pistillate flowers of protandrous cultivars develop later and have much larger stigmas.

       KT149 is protandrous and has showy red stigmas much like its Pawnee parent (photo at left). Kanza is protogynous and produces pistillate flowers that are smaller with yellow-green stigmas. The color of pecan stigmas can range from green to yellow to orange to red and is not related to flowering type. However, the size of the stigmas found on protandrous cultivars always seems much larger in comparison to the stigmas found on protogynous cultivars.

    Most growers look forward to pollination season because they get their first glimpse into next fall's nut crop. Remember, the number of catkins produced by a tree is not related to nut load. Look for pistillate flower clusters as they emerge from the tips of this Spring's new growth (circled in photo at right). A full nut crop is produced when 50-70% of all new shoots are terminated by a pistillate flower cluster.

Saturday, May 9, 2020

Using a 3-flap graft on a frost-damaged pecan seedling

     I finished up my grafting season this past week applying the last few grafts to trees that were recovering from the April 18th frost burn. All these trees were fairly small and ideal for attaching a 3-flap graft. I selected the trees to graft based on two prerequisites: First, new green buds were emerging from the frost-damaged tree and second, the seedling had added at least 2 feet of new growth last summer. The tree pictured at right is a perfect example.
     The photo at left shows how the small trees in my orchard are recovering from frost burn. Frost-killed buds are brown and are still attached to the tree. Secondary buds have broken and appear bright green and ready for growth.  The appearance of this new green growth was the signal I was waiting for to ensure graft success.


    Before applying a 3-flap graft, I prepare the stock tree by pruning off any small side limbs that might end up being the the way of wrapping the graft (photo above).

     Next, I hold up my scion next to the tree and select a location to cut off the stock tree at the point where scion and stock are equal in size (photo at right).

    After cutting off the top of the stock tree, I use my knife to split the bark to create the three flaps. If I see a bud on the stem, my first cut is always right through the center of that bud (photo at right). Bisecting the bud makes pulling down the bark flaps much easier, as you'll see in photos below.
   
   After I make three slices in the bark equally-spaced around the stem of the stock, I tie a long piece of grafting tape around the stock tree just below the three cuts. Before pulling down the three flaps, I start carving the scion to expose cambial tissue of three sides.  My first cut is always made to remove a bud at the base of the scion (photo at right). It is very important to make this cut deep enough, passing through the bark and cambium and exposing woody stem tissue.

     I repeat the bark-peeling cut three times to create a three-sided scion (photo at left). When looking at the cut you should see brown outer bark, greenish inner bark, a thin brown line of cambium and white wood at the center. One of the most frequent errors folks make while attempting a 3-flap graft is to not make the three cuts on the scion deep enough. You should see white wood exposed on three sides divided by strips of bark.
    Once I have the scion carved, I move back to the stock tree and carefully peel back three flaps. Note the small pieces of wood that once stuck up into the buds (photo at right). By splitting the bark over the bud, I made peeling back the bark easier. Trying to peel the bark back right over a bud often results in the bark getting stuck and the bark tearing. One of the main reasons I use 3 flaps is because of the way pecan trees arrange their buds up the stem. If you look carefully at a pecan stem you'll note the buds are arranged in a spiral pattern. With three flaps, I find I can easily line up my cuts over buds to avoid bark tearing.  

I use my pruning shears to push down the three flaps and cut out the wood inside the flaps (photo at left). When peeling back the flaps, I try to keep my hands off inside of the bark flaps.
   Once the wood is cut out, the three flaps remain spread open (photo at right). That's when I grab the grafting tape and start winding it up the stem.
   Wrapping the stock tree upwards with tape forces the three flaps to form a tight tube (photo at left). Holding the tape tightly, I can then insert my scion into the tube of bark and it will stay in place. I often try inserting the scion multiple times, turning the scion to see how I can get the best fit. The best fit is the one where all three cut surfaces of the scion are covered completely by bark flaps.

      As I wrap up the graft union, I pull the grafting tape to ensure a tight fit. Once the graft union is completely covered you should be able to feel the three flat sides of the scion under the bark flaps. If you press on the side of the graft union and you feel bark movement, the graft is not tight enough. Just re-wrap the graft union, applying more pressure with the tape.
    After making sure the graft is on tightly, I wrap the graft union with aluminum foil and cover with a plastic bag (photo at left). I add a drop of Elmer's glue to the top of the scion and attach a bamboo stake. Initially, the bamboo will prevent bird damage but later, I'll use it to provide support for new scion growth.  


Monday, May 4, 2020

Regrafting a damaged tree with an arrowhead graft

   Last summer, I discovered that one of my grafted trees was girdled by a squirrel stripping the bark from the fast growing scion (see Here). After cutting out the dead graft, I allowed one shoot to grow from the trunk  beneath the old graft union. As that shoot grew, I used an eight-foot-long wooden stake to train the fast-growing stem into the tree's new central leader (photo at right). Now this Spring, its time to re-graft the tree.
    My first step was to trim off the dead wood above the point where the new shoot emerged from the trunk (photo at left). When making the cut, I followed the obvious line marked by the shrinkage of dead bark tissue. The resulting angled cut should allow the tree to heal over the wound as quickly as possible.

  
    To prepare the tree for grafting, I cut off the top of the new shoot and inspected the size and shape of the stock as compared to the size of my scion (photo at right). The stock was fairly small and very round. This called for an Arrowhead graft. 
     The first cut in carving the scion for this graft is very deep, leaving only a thin tongue of wood (photo at left).
    Next, I turn the scion over onto the bark side and carve both edges down to reveal cambium tissue (photo at right). My final cut on the scion is to create a chisel point at the tip to ease its insertion under the bark of the stock.

   With the Arrowhead graft, the scion is inserted between the bark and the wood right down the middle of a slice made into the stock's bark (photo at left). As you push down on the scion, you should see both sides of the bark pull up to cover the cut surfaces of the scion. The long thin strip of bark left on the back side of the scion should stay in the middle and be visible in the bark crack.
    To ensure good cambial contact between the scion and the bark of the stock, I place a row of staples vertically to bend the bark to conform to the shape of the scion (photo at right). These stables do not pass through the scion, they are placed right next to the scion causing the bark to bend noticeably inward.
    Since the staples are not actually holding the scion firmly in place, I wrap the graft union with grafting tape to make sure the scion can't move (photo at left).  I then cover the graft with aluminum foil and a plastic bag to block out the sun and hold in moisture.
   What a squirrel destroyed last year, I've made a good start rebuilding this year.  I replaced the 8 foot stake fully expecting this graft to take off (photo at right). I also put a deer cage around the graft to ensure against browsing  injury.

Saturday, May 2, 2020

Bark grafting tips


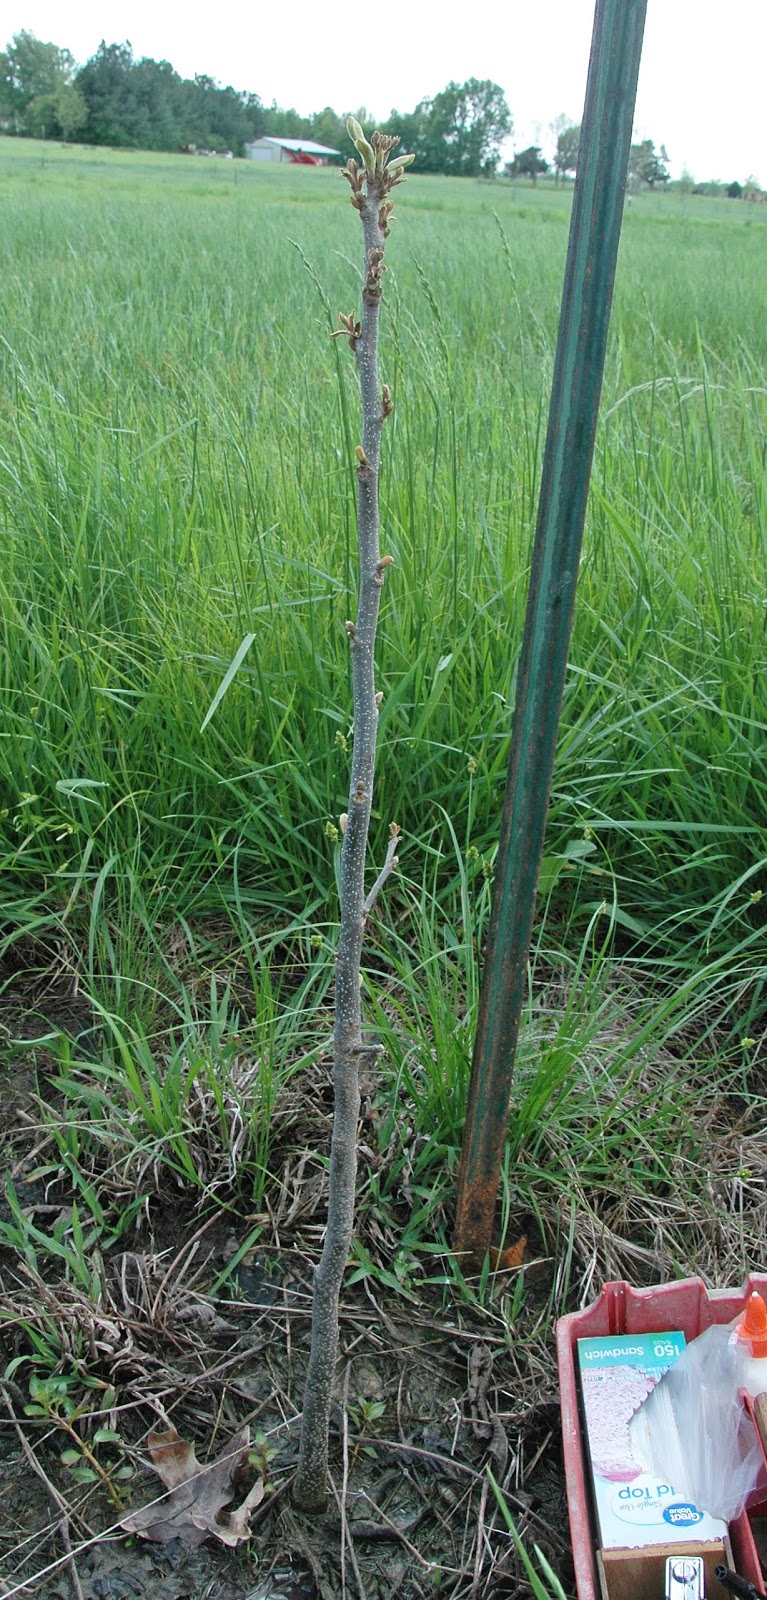
A successful bark graft
  This past week has provided excellent weather for grafting even if I needed rubber boots to wade through the mud created by a couple of night-time rain showers. In previous years, I concentrated on grafting fairly small trees using the 3-flap graft. However, I lost many of these grafts to rising flood waters when newly created graft unions became submerged and coated with silt. So in recent years, I've allowed my seedling rootstocks to grow larger  enabling the placement of a bark graft significantly higher off the ground.
   While making bark grafts this year,  I  photographed two examples of common problems encountered while bark grafting. But before I share those photos, you may want to review the description of my entire bark grafting method (click here).

    The first common problem is trying to insert a bark graft on a tree with a relatively small diameter. The tree I was was working on was only one inch in diameter (photo at left). The scion I selected was roughly 3/8 inch in diameter. Fortunately, the stock tree had a relatively flat side which is always the best location for inserting a bark graft. When choosing a scion to use on this tree, I tried to match the diameter of the scion to the width of the flat spot. In the photo, I'm holding the scion adjacent to the stock's flat side .
    When bark grafting small diameter stock trees, I try to carve my scion as thin as possible (photo at right). This actually makes the scion a little narrower than the original diameter of the scion because I carve down past the mid-point of the stem.


     Carving the scion into a thin tongue of wood means that the two cuts made on the back of the scion need to be cut carefully as to not remove all the cambium. Note in the photo at left, I was still able to leave a strip of bark between the deep cut and the shallow backside cut.
     The bark on small diameter pecan trees is often thin and quite pliable. By carving the scion down to a thin strip of wood, the scion slips easily under the stock's bark (photo at right.
   After inserting the scion, make sure the 90 degree cut lines up with the slit in the bark of the stock. The bark flap should completely cover the back-side cut on the scion. Also, you should be able to see the strip of bark left on the scion peeking out of the bark slit (photo at right).
  
     I use 5/16 light duty stables to make sure the scion stays in place and the bark of the stock is firmly held against the scion (photo at right).  My first set of stables are placed at an angle spanning the slit in the stock's bark.
   
To eliminate all air spaces between the stock's bark flap and the scion, I place a row of stables vertically from the top of the stock to the bottom of the scion (photo at left). You can see in the photo how this row of staples bends the bark inward forcing the bark to conform to the scion.
    Once I get to this point, I wrap the graft union in aluminum foil and a plastic bag as usual. Attaching a bird perch on this tree is critical because there is no way the thin strip of scion inserted under the bark can support even the smallest song bird.
    The second problem I often face is grafting with a crooked scion. Whenever I graft, I always hold the scion in my hand and twirl it around to locate the straightest side. The photo at right shows the same scion as I rotated it around.  The scion looks almost perfectly straight in photo 'C' and that is where I made my first and deepest cut.
    After making the cut the scion still appears straight (photo at left).
     However, the crookedness of the scion reappears when I rotate the scion. The tongue of the scion has a pronounced curve in it (photo at right). This is not a problem because I can deal with a curved scion after inserting it into the stock tree.
    I continue to carve the scion into a wedge shape ignoring the curve in the wood (photo at left).
    Once the scion is carved, I insert the scion under the bark (photo at right). Here's where the curvature in the scion becomes a problem. The scion is pulling away from the stock revealing a massive air gap.
   
      To get the scion to conform to the stock, I start stapling at the bottom of the bark split. I move upwards, inserting staples as I go and pressing the scion against the stock. The staples hold the scion in place.
    The outwards curvature of the scion also causes a huge air gap to form just to the left of the scion (photo at right).  Again, I'll address this problem with staples.

    I use my staple gun to press the bark of the stock up tight around the scion (photo at left). Then I shoot a staple in to hold the bark in place.
    Once the top staple is set, I move down the stem inserting staples vertically to bend the bark to conform to the scion. At this point, my crooked scion is held straight and is covered tightly by the bark of the stock. Covering the graft in aluminum foil and a plastic bag completes the grafting process. Attaching a bird perch to prevent bird damage is also my standard practice.