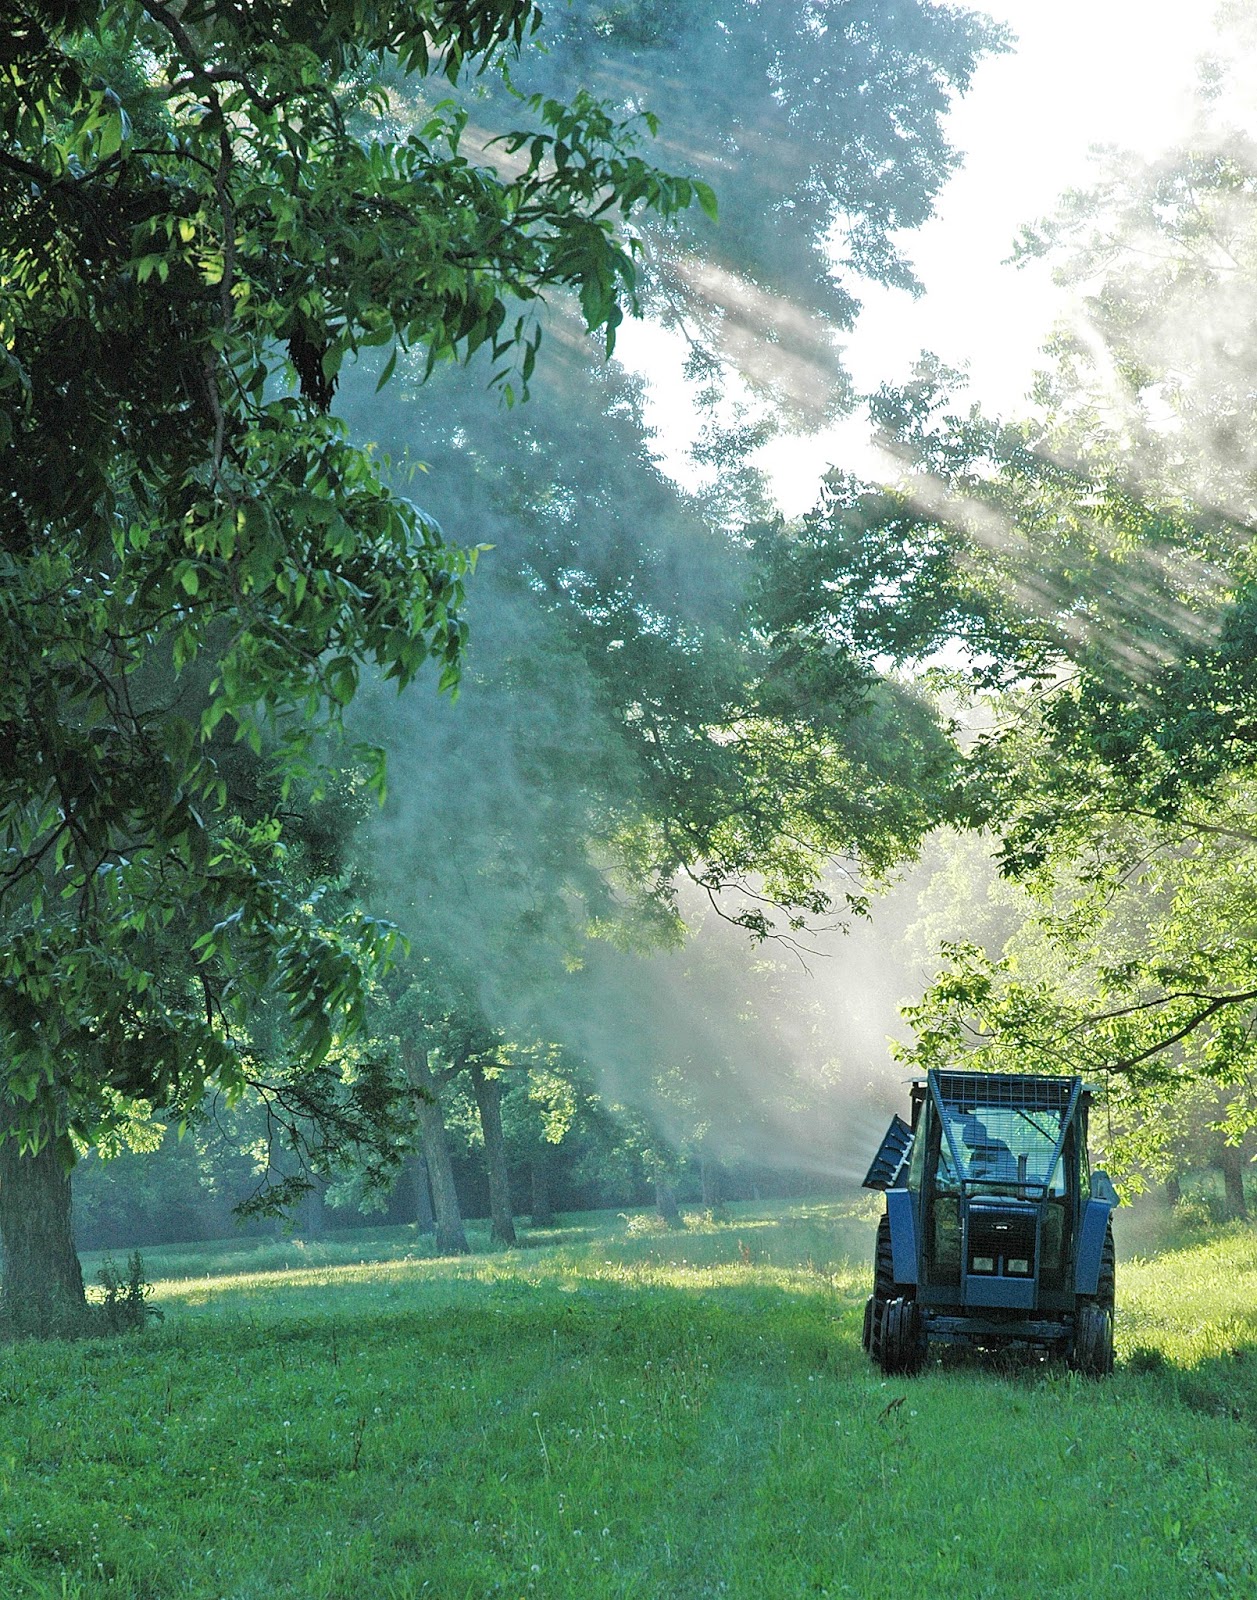
July is the month when northern pecans enter a period of rapid fruit enlargement. Even though pecans are a nut crop, we call it fruit enlargement because the shuck and seed within are collectively termed a pecan fruit. Botanically, pecans are similar to peaches. The hard-shelled seed of a peach tree is surrounded by a fleshy outer-layer that we just love to eat. However, we discard the peach pit or seed. With pecans, we disregard the fleshy outer-layer and eat the seed within.
On Thursday, July 21, I collected a few pecan fruit from several cultivars to check on the status of fruit enlargement. The first group were pecans from early ripening cultivars (photo above right). Cutting open these nuts I found that these nuts ranged in kernel development from 1/4 water stage (Colby) to nearly full water stage (Warren 346).
The next group of cultivars had pecans that were all very similar in size at this point in the growing season (photo at left). However, these cultivars represent a wide range of ripening dates. At harvest, Peruque will be the smallest nut while Maramec will be nearly twice the size of Peruque.
After cutting open each nut, I could see differences in kernel development (photo at left). Peruque was at 1/2 water stage while the Maramec kernel was still at the small heart stage. The Faith and Waccamaw nuts were approaching 1/4 water stage.
The final group of nuts I collected were from four scab free cultivars (photo at right). The Kanza and Hark nuts looked plump and well on the way to full fruit sizing. Lakota looked narrow and not as far along. Oswego, a nut that at harvest will be similar in size to Kanza or Hark looked significantly smaller.
Cutting open each nut I found Kanza and Hark to be at 1/4 water stage. The Lakota had slightly less kernel development. But Oswego kernel development was far behind, still at the small heart stage.
Friday, July 22, 2016
Monday, July 11, 2016
Hickory shuckworm, fall webworm and scab: Time to spray again
In scouting our pecan grove, we've seen three insect pests that I would like to keep under control. The first is fall webworm (photo at left). We don't have an overwhelming webworm problem in the orchard but there are just enough first generation colonies that, if left untreated, may lead to a huge second generation problem in August.
We have also collected several dropped nuts damaged by hickory shuckworm You can identify hickory shuckworm damage by finding an ovipostion scar surrounded by a ring of white insect scales (photo at right). With a low to moderate crop this year I want to make sure we hold onto as many nuts as possible. Controlling hickory shuckworm will help maintain the current nut set.
The third insect pest we have found in our pecan grove this week is Japanese beetle. This is a new pest for us and one that is just starting to move into our area. This shiny green beetle with copper-colored wing covers, usually feeds in groups of several beetles. Pecan leaves take on a tattered appearance following beetle feeding.
In spraying for pecan scab today, we included an insecticide in the spray tank to make sure we keep webworm, shuckworm, and Japanese beetle under control.
Friday, July 8, 2016
Preventing wind damage to new grafts.
Grafting pecan trees is one of my favorite parts of developing a new orchard. After years of practice, I can graft fairly quickly and I have confidence that the graft will be successful. The time consuming part of grafting trees actually occurs during the summer months. Every 3-4 weeks, I return to each grafted tree to prune off trunk sprouts, tie the scion's new shoot to a bamboo stake, and remove stalked buds. The photo at right is an example of a successful graft I made earlier this year. Look carefully, you can see that I've already tied the new growth to a bamboo stake with green flagging tape in 3 places.
I can not stress enough the importance checking on the growth of your scions regularly throughout the summer. The photo at left is an example of what can happen when the scion grows faster than expected, the new growth wasn't tied to the bamboo stake, and a thunder storm blows through the orchard. Without being tied to the stake, the wind broke off the scion right at the top of the stock.
With this tree, I'll let the stump sprouts grow and re-graft the tree next year. I'll also leave the bamboo stake and all the graft wrapping in place to remind me that this tree needs re-grafting.
I can not stress enough the importance checking on the growth of your scions regularly throughout the summer. The photo at left is an example of what can happen when the scion grows faster than expected, the new growth wasn't tied to the bamboo stake, and a thunder storm blows through the orchard. Without being tied to the stake, the wind broke off the scion right at the top of the stock.
With this tree, I'll let the stump sprouts grow and re-graft the tree next year. I'll also leave the bamboo stake and all the graft wrapping in place to remind me that this tree needs re-grafting.
Labels:
grafting
Friday, July 1, 2016
Be careful when pulling off stalked buds
Yesterday, I spent the morning trimming grafts and training the scion to a nice central leader. Just two weeks ago, I worked on these same trees selecting a single scion shoot and removing stalked buds. However, it is amazing how fast bark grafts can grow. Many grafts had grown 10 to 12 inches taller in just two weeks. Along with the new growth, the tree also developed new stalked buds (red arrows point to stalked buds in photo at right). My first step in training these grafts is to remove all stalked buds. Next, I used flagging tape to tie the new growth to the bamboo stake I already had in place.
When I remove stalked buds I always start at the top of the scion shoot and work my way down. At some point, I will come the location on the shoot were I had removed stalked buds previously (2 weeks ago in this case). You need to watch carefully as you tear off the stalked buds. In the photo at left, the red arrow points to a stalked bud that has developed since the last time I removed stalked buds. This bud will be removed.
The yellow arrow points to a brown scar on the stem indicating the position of a stalked bud that I removed 2 weeks ago. Below the scar is a secondary bud that is starting to grow. I will leave this bud in place to form a wide angled lateral branch. Remember, by the time a secondary bud starts to break, it will be located well below the central leader and in perfect position for lateral branch formation.
When I remove stalked buds I always start at the top of the scion shoot and work my way down. At some point, I will come the location on the shoot were I had removed stalked buds previously (2 weeks ago in this case). You need to watch carefully as you tear off the stalked buds. In the photo at left, the red arrow points to a stalked bud that has developed since the last time I removed stalked buds. This bud will be removed.
The yellow arrow points to a brown scar on the stem indicating the position of a stalked bud that I removed 2 weeks ago. Below the scar is a secondary bud that is starting to grow. I will leave this bud in place to form a wide angled lateral branch. Remember, by the time a secondary bud starts to break, it will be located well below the central leader and in perfect position for lateral branch formation.
Subscribe to:
Posts (Atom)