The July 4th Holiday weekend was a great time to work on all 3-flap grafts I made this past spring. A month ago I had visited all newly grafted trees to
remove stump sprouts. This time I am going to train the tree to a single shoot growing from the scion and re-wrap the 3-flap graft union.
Since I last visited the tree pictured at right, new trunk sprouts have grown and the scion has developed a nice strong shoot. I grabbed my grafting box and started right to work.
My first job was to trim off all trunk sprouts that had developed below the graft union (photo at left). Hopefully, as the new scion grows in height and diameter, the tree will be less prone to sprouting new trunk shoots in the future.
Next, I proceeded to remove all the wraps placed over the graft union back when I originally grafted the tree. When I make a
3-flap graft, I bind the graft union tightly with grafting tape. To allow the graft union to freely increase in diameter as the tree grows this summer, I need to remove that tape.
The simplest method to remove the wraps from the graft is to use a sharp knife to cut the tape, aluminum foil and plastic bag with a single vertical slice (photo above, right).
Once cut, I peel back the layers of graft wraps and remove them from the tree (photo at left). At this point, the graft has callused over but the union is still weak and can easily be broken. When pulling off the wraps, I'm always careful not to pull and tug the graft union itself.
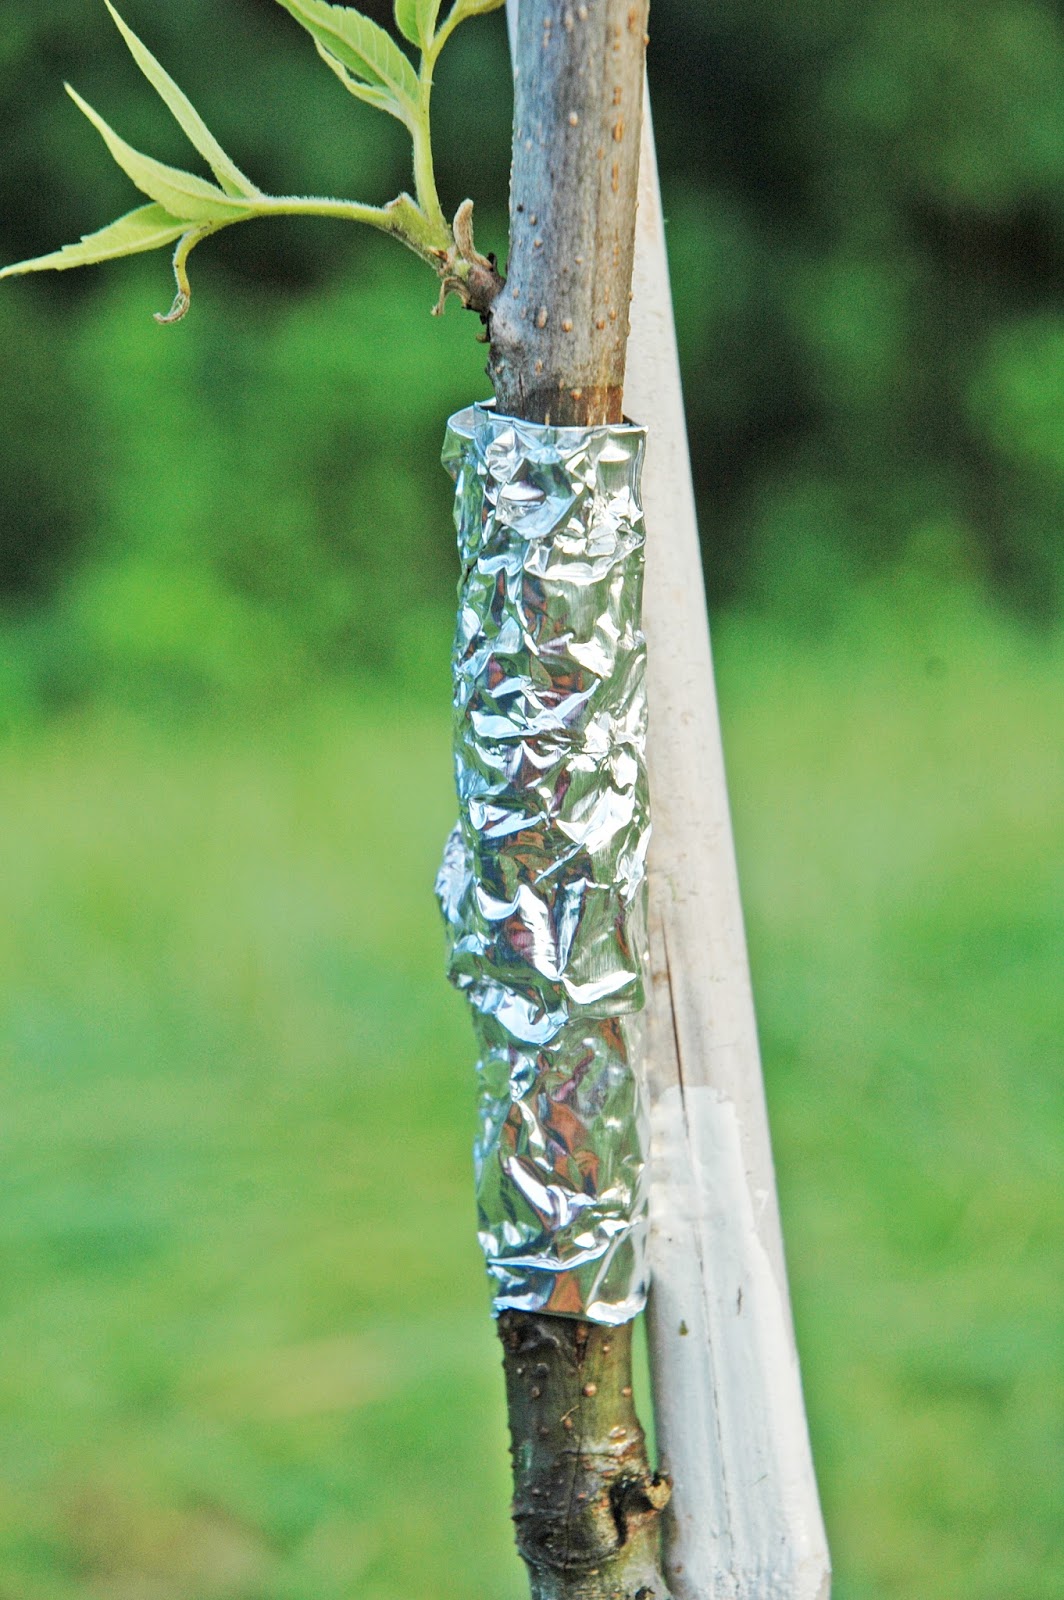
Once I remove the graft wraps, I can see white callus tissue growing between the bark flaps (photo at right). Since this new tissue developed and grew in the dark under the original graft wraps, it is very susceptible sun-scald. So, to prevent sun injury during the heat of the summer, I will re-wrap the graft union in aluminum foil.
Just like covering the graft the first time, I rip off a piece of foil and place it over the graft union. This time there is no grafting tape underneath. The foil acts as a sun block protecting the tender callus tissue from damage.
To make sure the foil doesn't get blown off the tree in the wind, I tie a piece of grafting tape around the foil. Once I'm done with the graft union, I turn my attention to other parts of the tree.
The photo above shows a before and after view of pruning the scion. I want all the tree's energy focused on the one, strong shoot growing from the upper bud of the original scionwood stick. I prune off the lower bud (red arrow) and then remove the stub at the top of the scion (yellow arrow). Removing the stub isn't totally necessary but it will help the tree grow over the wound much cleaner and faster.
Next I inspect the new shoot growing from the scion. If I see any
stalked buds (yellow arrow), I pull them off.
Finally I use some engineer's flagging tape, to tie the scion's new shoot to my bamboo training stick (photo at left). Before moving to the next tree, I'll replace the deer cage over this graft to prevent deer browse (deer cage can be seen in the background of this photo).
I'll be back in 3-4 weeks to add additional ties to the new shoot and to trim off any unwanted new growth below the graft union.